|
July and August is a good time of year to take Pelargonium (Geranium) cuttings to raise new plants for free. Taking cuttings from Pelargoniums/Geraniums is simple and easy. Geraniums are not frost hardy and so plants and cuttings need to be overwintered indoors. Geraniums make really good conservatory plants and are one of the few plants which can survive the high temperatures in a conservatory over the summer months. If you are looking for something to brighten up the conservatory flowering almost all of the year, Pelargoniums (Geraniums) are a good choice.
If you have favourite Pelargoniums at the end of the season when clearing out bedding plants, you don’t have to throw them away, Pelargoniums will over winter in the conservatory and you can take cuttings to multiply your stock. Before the first frosts arrive, pot them up and bring indoors. If you don't have a conservatory you can overwinter in a greenhouse or under glass in which case Pelargoniums are best cut back later in the season, October/November and during the coldest months reduce watering.
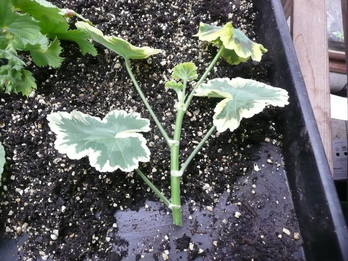
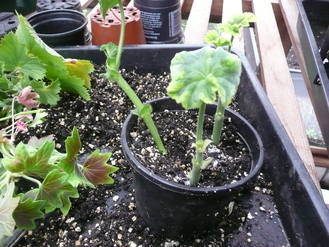
Cuttings taken now can be overwintered in the same way and will produce great plants for the spring. Unlike most type of cuttings which are usually covered with a polythene bag or put in propagator, Pelargoniums are different and are not covered the plants being open. Pick your favourite plant, cut a piece about 4-6cms long and trim off most of leaves, leaving just one or two at very tip of cutting, and remove all flowers. Trim the bottom of cutting to just below a joint (slightly knobbly bit) which end goes into the soil and the joint is in the soil. If this too confusing, just take a series of cuttings maybe 5-6 and trim leaves and flowers, and the chances are the cuttings will include some joints. In the image on the left below all 4 leaves will be removed leaving just the very small leaves at the top of the cutting.
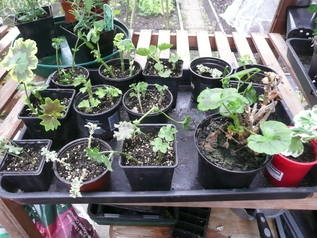
A 13cm or 5" pot will take about 5 cuttings. Fill the pot with gritty compost and stand in water until compost is moist. Drain, make a hole with dibber or pencil, put in cuttings and firm in carefully so there are no air pockets and do not water at this stage, the pot has moisture. Place in warm sunny spot but away from direct sunlight. One week later water as before by placing pot in water and draining, and then again another week or so, and by this stage the cuttings should have started to root. By the time the first frosts arrive the pot should be placed somewhere sheltered for the winter and watering reduced during the winter months, Dec-Feb. In the spring you can grow on and you will have free Geraniums to bed out in the summer.
|


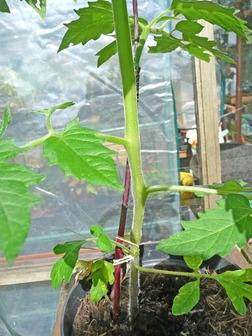 into full swing, so many veg to plant now all types of beans, courgettes, herbs, tomatoes the list is endless. Tomato plants naturally grow side shoots illustrated in the image left. We pick them off because tomatoes are vigorous plants. In the space of a few weeks they grow the best part of a metre and half; produce lots of flowers and fruit; they are very fast growing and the side shoots will make more and more branches if not nipped out and the plant will become huge. Stop the side shoots and you limit the branches and contain the plant so it puts energy into flowers and fruits later in the season. It's a five minute job but well worth doing to keep the tomatoes growing well for the season. Hopefully the images make it clear what to do and how the tomato plant will look afterwards, image right.